- The Blend
- Posts
- Intro to curves: messy spiderwebs part 1
Intro to curves: messy spiderwebs part 1
Working with curves in Geometry Nodes
Samuel Sullins
June 05, 2023

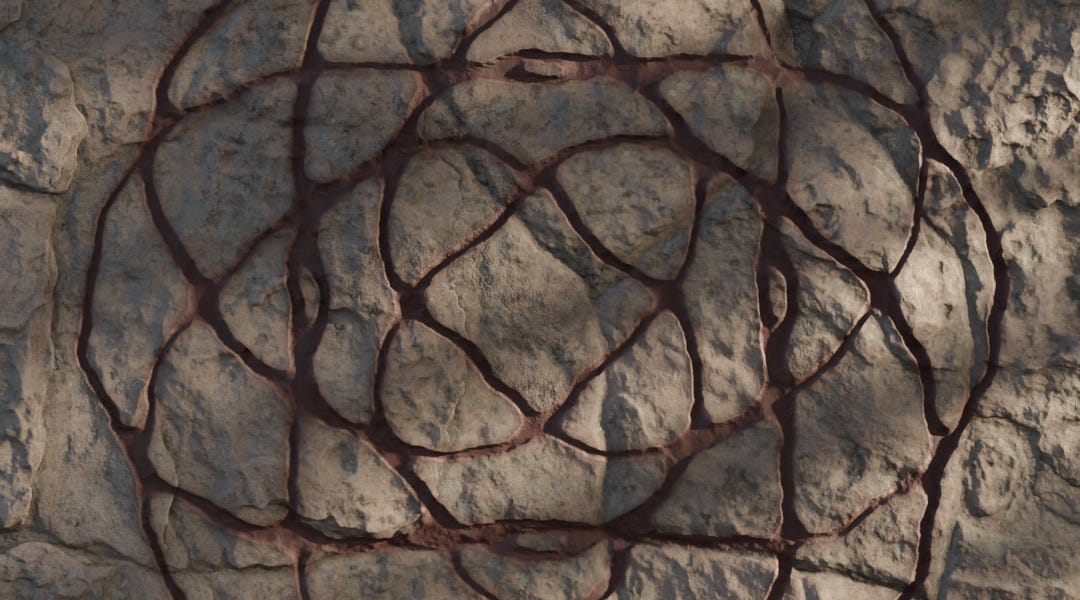
Ropes. Wires. Seaweed. Ivy.
You need curves to make these.
Curves make it extremely easy to make any kind of long, thin shape. In Blender, a curve is made up of vertices.
Unlike a mesh, you get special handles to manipulate the way the curve is shaped between each vertex.
(Try this. Add a new Bézier Curve to your scene, TAB into Edit Mode on it, then mess with the curve handles to see how the shape changes.)
Quick Note: This email is the first part of a 4-part series. In the series, you’re going to learn how to make a spiderweb generator. You’ll be able to “paint” spiderwebs wherever you like, in any scene.

Disgusting, right? Soon you’ll be able to make any scene this horrifying.
Over the next few emails, you’ll learn how to build a few different node groups. Then you’ll combine those to make the final setup.
Before any of that, though, you’ll need to know some basics of working with curves.
Let me show you some really useful curve tools:
The Curve Draw Tool: The Best Way To Create Base Curves
Common Nodes For Messing With Curves
Seeing Curves: How To Turn Your Curve To A Mesh
The Curve Draw Tool: The Best Way To Create Base Curves
Add a new Bézier Curve object to your scene.
Like any other object, you can edit curves in Edit Mode.
But curves come with a special tool called the Curve Draw tool. This is powerful for creating curves that look exactly the way you want them to.
In Edit Mode, press A to select all the vertices, then X to delete them.
Now, grab the Curve Draw tool from the toolbar. Make sure it’s not the Annotate tool—they look very similar.

Curve Draw. Surface Mode.
Now you can click and drag anywhere in the scene to draw new vertices in your curve object.
There’s 2 modes: Surface and Cursor. Surface is usually better, because it makes the curves stick to any other objects in the scene as you draw.
To delete the curves you’ve drawn, simply press A to select all the vertices again, then X to delete them.
Common Nodes For Messing With Curves
Now let’s see some basic nodes for curve editing.
Before I explain it all, select any curve object, go to the Geometry Nodes tab, and build this setup.

Simple setup for working with curves. Will soon be explained.
This does a lot of things. You’ll learn them one at a time.
First, the Resample Curve node. This node takes a curve input, then outputs the same curve, but with a different, evenly spaced number of vertices. Simply adjust the Count to change how many vertices the curve should have.
You can also switch it to Length mode to choose the distance between vertices rather than the total number. Usually this node is used to add “resolution” to a curve. More vertices = smoother shapes and more detail.
Next the Set Curve Radius node. This simply sets the Radius value of each vertex. This won’t look like anything until you convert your curve to a mesh.
The Spline Parameter node gives you information about a spline (curve.) The Factor output gives a number between 0 and 1 for each vertex of the curve, starting at 1 at the beginning and going down to 0 at the end. When you use this to drive the radius, you’ll get a tapered curve. (once it’s converted to a mesh.)
Seeing Curves: How To Turn Your Curve Into A Mesh
To turn a curve to a mesh, you use the Curve To Mesh node.
It has a Profile Curve input. You plug in a second curve that represents a cross-section or “slice” of the curve, so that Blender knows what shape to make the generated mesh.
Here, we use a simple Curve Circle for a round mesh.
It also makes use of the radius we set earlier to change the width of the curve. Since we’re driving the radius with the Factor from the Spline Parameter, we get a cool tapered curve.
That’s it for your curve basics.
You just learned:
How to draw curves in Edit Mode
How to use the Resample, Set Radius, and Spline Parameter nodes
How to convert a curve to a mesh in nodes
If you’re reading this online, now would be the ideal time to subscribe. (so you don’t miss Part 2. Or Part 3. Or the best part, which will be Part 4.)
Can't think what to blend?
Try something filthy and rotten. Anything from a rotting log to an abandoned boot.
P.S. I write fiction on the side, if you like that kind of thing. I did the cover of this one in Blender:
Enjoy this newsletter? Please forward to a friend, it'll make my day. And theirs.
New to the newsletter? Join here (no pressure. But I really, really think you should click the button. Click the button. Click...the...button...) ↓
Reply