- The Blend
- Posts
- Remesh + nodes

I've done a lot of Geometry Nodes work this week.
There's 1 problem that's shown up a few times. I'll have a mesh that I want to use in my node setup, only the mesh isn't uniform enough.
I need it remeshed.
Remeshing is when you generate a new mesh, a new model, with a different structure. The remesh isn't identical to the original, but it's close.
The ordinary way to do this is the Remesh Modifier. It gives you some handy controls and a bunch of options—things like 'voxel size' that let you adjust the resolution of your new mesh.
But what if you want to do it in nodes? You can't use modifiers there.
I found a great way to do that. It's dead easy set up.
Let me show you:
The Process
Volume Remeshing
Shrink-wrapping
The Process
Remeshing in Geometry Nodes is a 2-step process.
First, we'll make a crude remesh. We'll use some Volume nodes to do this.
Next we'll need to tidy up the rough mesh. We'll do that by shrink-wrapping it to the surface of the original mesh.
Then we'll have a complete remesh.
Here's the setup we'll make ↓. I'll tell you what everything does.

The whole setup. Simple right?
Volume Remeshing
The first node you need is the Mesh To Volume. It takes an input mesh and converts it into a volume—a collection of voxels.
Voxels are points in space, a little like pixels on a screen, but in 3D. Volumes like this are normally used for representing effects like smoke and fire and clouds.
Now that we have the mesh as a volume, we can convert it back to a mesh using a Volume To Mesh node. This constructs a mesh from the volume data.
Now you'll see a crude remesh. We can make it a little nicer:
Change the Voxel Amount to add/lose resolution (more faces.)
Turn the Exterior Band Width to 0, so there's no extra puffiness to the mesh.
Next, we'll snap these generated vertices to the original mesh to get a cleaner result.
Shrinkwrapping
Shrinkwrapping is easy in Geometry Nodes.
First, add a Set Position node. This lets you update your mesh's vertex positions.
Next put in a Geometry Proximity node. Plug the original mesh into the Target input.
Now the node's Position output will have the shrinkwrapped vertex positions. Simply plug it into the Position input on the Set Position node.
And the mesh magically snaps into place!
Now you're done. You have a new trick up your sleeve next time you need it.
You just learned:
what remeshing is
how to use the volume nodes for remeshing
how to shrink-wrap using the Proximity node
Thanks for reading.
Have a great week.
*note: apparently "remesh" isn't a real word. Every time I type it I'm fighting a small war with the autocorrect ⚔️
Weekly Picks
Actually don't have anything this week. Haven't kept myself up to date.
So watch Suzanne melt:
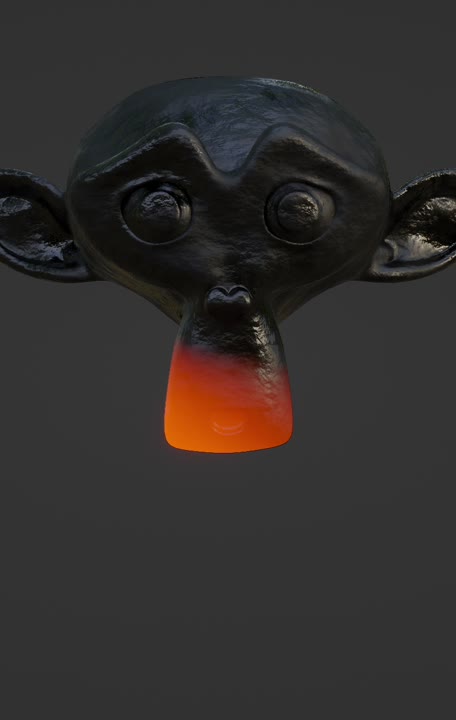
Can't think what to blend?
Try something long and thin. Anything from a snake to a toothpick.
P.S. up for some high-quality, original fiction? Try Voyage. A new story in your inbox 2x/month.
Enjoy this newsletter? Please forward to a friend, it'll make my day :)
New to the newsletter? Join here (no pressure. But I really, really think you should click the button. Click the button. Click...the...button...) ↓
Reply