- The Blend
- Posts
- The Curve Constraint

Curves are an animation superpower.
Without curves, you'd only be able to animate objects moving in stiff, straight lines. (I think. Correct me if you know better.)
Let's say you've modeled a futuristic cartoon guy. You've created a looping walk animation for him. Now you want him to walk from point A to point B, but not in a straight line.
You want him to follow a curve.
Here's the process:
You make a curve. It's just a big, curvy line. You can adjust the curve, edit it, make it any shape you like.
Then you animate your guy to follow it using the Follow Path constraint. You tweak some settings, add some keyframes, etc.
weird cube thingy following a path. those special arrows indicate movement.
Easy.
Except for one thing—
The Follow Path constraint.
It's what allows you to make an object follow a curve.
Blender has managed to make that a little harder than it should be. Not too bad though—let's dive in.
Here's what we'll cover today (or tonight):
The Constraint
Understanding The Settings
Fixing The Animation
Ever struggle with anything in blender?
There a modifier that always boggles your mind, or a concept you never could understand?
Hit reply and lemme know.
I'll learn about the topic & make a tutorial to simplify it for you. (if I can understand it😀)
The Constraint
Before we get to animating anything, we need to set up the Follow Path.
Set up your scene first:
Delete the default cube. (the proper way to start)
Add a new Curve > Bezier. Not gonna go into curve editing here, but you can TAB into Edit Mode and change it as much as you want. This is the Path.
Add some other object, the one that's going to follow the path. This is the Follower.
Now you need the constraint. Select the Follower and open the Constraints tab in the Properties Panel (little blue drive belt icon—just under the Physics one.)
Press Add Object Constraint and add a Follow Path.
There's an option called Target. Click that and pick the Path (the curve you made.)
Now you have the constraint. Let's have a look at what some of the options do.
Understanding The Settings

The Follow Path constraint.
First, there's the Forward Axis. That controls which axis of the Follower points forward, in the direction of the path.
I just click though these until it's pointing the way I want.
Next the Up Axis. This controls which axis of the Follower points upward. Again, just switch through them until it looks correct.
Super Important Note:
The Up and Forward axis settings should NOT be the same. Just makes it weird. You can't have the same axis pointing forward and up, and Blender has no idea what to do when you ask for that.
Next hit the Follow Curve checkbox. It'll make sure the Follower turns to follow the curve as it moves, like a car on a road.
DON'T hit the Animate Path button. It only makes animation harder. (If you do hit it though, just right-click the Evaluation Time (see below) and press Clear Keyframes.)
Here's the proper way to animate ↓
Fixing The Animation
The animation happens in the Curve Settings.
Select the Path. Click the little green Curve tab that appears in the Properties Panel. This is the Curve Settings.
Scroll down to the Path Animation section and open it up (make sure it's enabled.)

The crazy animation settings...
There's 2 important things here.
First, the Evaluation Time.
This is a percentage. This controls where along the Path the Follower is located. A value of 0 means the Follower will be at the start of the path, and a value of 100 means it's at the end of the path.
Try scrubbing this value up and down by clicking and dragging in it—you'll see how the Follower moves along the Path.
Next, the Frames value. "Frames" is a very misleading name—it has nothing to do with frames. It's simply the maximum value for the Evaluation Time.
For example, if you set the Frames to 10, then when you're using the Evaluation Time, a value of 10 (instead of 100) will put the Follower at the end of the path.
Highly recommend leaving the Frames alone. 100 is a nice maximum value.
Time to animate.
For that, you'll need a Dope Sheet view to see your keyframes. Drag a new Area out from the corner, then switch its Area Type to a Dope Sheet.
Go to frame 1
Type 0 into the Evaluation Time.
Hover over the Evaluation Time box and press I to make a keyframe.
Go to frame 250
Type 100 into the Evaluation Time, so the Follower is at the end of the path.
Hover over the Evaluation Time box and press I to make a keyframe again.
Hit play!
Your Follower should slowly move along the path. Not too hard, right?
Now you can adjust the animation just like any other. In your Dope Sheet (with the Path still selected) you can see the keyframes you just made (make sure the left sidebar is open. The keyframes might be buried a few levels down. ) ↓

The Path in the Dope Sheet.
Start and end mixed up?
Sometimes the start and end of the curve aren't what you expected. It's an easy fix—select the curve, TAB into Edit Mode, press A to select everything, and choose Segments > Switch Direction.
You can do any normal keyframe stuff to the keyframes now. Push them closer together to speed it up, further apart to slow down.
Select all keyframes and press T to change the interpolation. Pick Linear. Now the Follower will maintain a consistent speed as it travels the path.
And that's it. Bit longer than I expected. But now you know:
what the Follow Path constraint is
how to set one up
how to animate it
Late email today! (I'm going to bed now.)
Goodnight & have a great week.
"We interrupt this program Blend..."
This week's newsletter is sponsored by SpinItFaster.
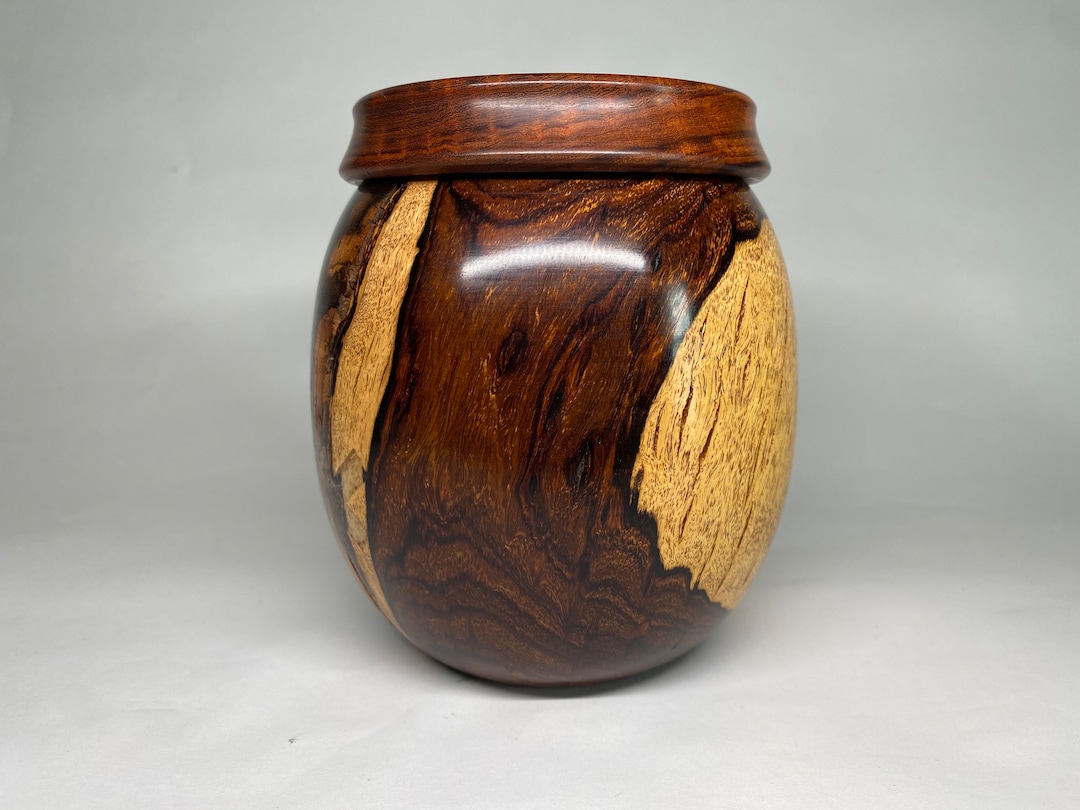
He's a woodturner. He hand-turns wooden things—bowls, boxes, vases. His work is unusually high-quality—he spends days working on each piece.
This box ↓ is made of Desert Ironwood. It's a rare wood, prized for its hardness and beautiful figuring.
That's enough. Back to the Blend.
Introducing a new section today! ↓
Weekly Picks
Interesting things from the Blender world this week.
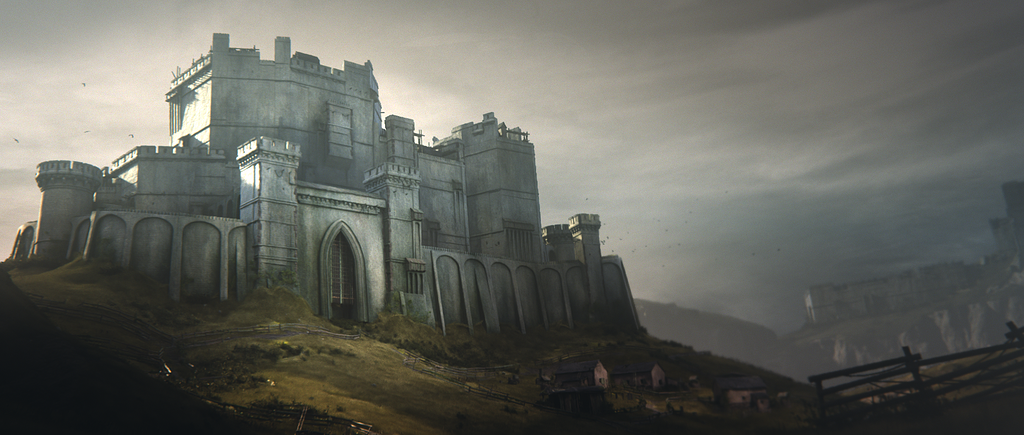
sozap built a setup where an entire, realistic medieval castle is generated from a simple cube base mesh. Definitely have a look, it's an amazing project:
Roman Klčo created a neat isometric render of a pizzeria. It's packed with details and the texturing is amazing:

Can't think what to blend?
Try something cheap and plastic. Anything from a happy-meal toy to a plastic fork.
P.S. you like short stories? Try Voyage. A new story in your inbox 2x/month. (you can also just go there and read the stories without signing up—they're all free)
Enjoy this newsletter? Please forward to a friend, it'll make my day :)
New to the newsletter? Join here (no pressure. But I really, really think you should click the button. Click the button. Click...the...button...) ↓
Reply