- The Blend
- Posts
- Getting bloom in cycles

Eevee has all these amazing features.
It's realtime. It's got decent volumetrics. You get AO and other extras for free.
My favorite is the Bloom effect. You turn it on with a checkbox in the Render Settings panel.
This adds a little glow around anything bright in the scene. Bright reflections, headlights, jet flares, anything bright and glowy.
Improves most scenes a ton (when you have bright objects in the scene, of course.)
All great. Where am I going with this?
Cycles, of course. Cycles is way better (more realistic, at any rate) than Eevee, but Cycles doesn't give you any free post effects like Bloom.
So all our Cycles renders are doomed to be more bloom-less than a flower farm in December.
But...
There's hope. In the Compositor.
I'll break this into 2 parts:
The Compositor
The Nodes
The Compositor
The Compositor is what you see when you go to the Compositing tab.
It's another node editor. It lets you "do nodes" to your final render. Everything in the Compositor happens after the render, changing the final image.
So open up a scene with something bright in it (I'm using a still from this render.) Press Render Image so you'll have an image to work with. (do use Cycles, or if you use Eevee, don't use Bloom.)
Now, check the "Use Nodes" box in the Compositing Tab, so the nodes actually get applied to the render.
The Nodes
The first node is the Render Layers. This gives you your render, fresh from Cycles.
The other node is the Composite—that's the output. Everything we make will need to connect to that.
We're going to add 2 nodes. A Viewer, to see our work as we go, and a Glare node to add the glow.
Quick look at the nodes:

All I've added is a Glare and a Viewer.
Now, let's build 'em. Add a Viewer first. This node takes the image you give it, then displays it in the background so you can see it. Notice how I've made sure my image is still connected to the Composite too.
Next, the Glare node.
This node can actually do a lot.
But Fog Glow is the most powerful mode. It gives you a Threshold control which lets you adjust how bright the image has to be before it gets the glare added on top. The Mix lets you adjust the amount of glare added to the image, and the Quality (low, medium, or high) gives you slightly larger or smaller glow effects.
Try them all, so you see what it all does.
Here's how the image turned out: (very random image, I know. Opened the first one that came to mind)

Like a Cycles render with Eevee effects :)
That's it—this is literally a 1-node effect.
You just learned:
what the Compositor is
what the Viewer node does
how to use the Glare node
If any of that's still confusing you, hit reply and let me know! I'll try to simplify it for you.
(I reply to every reply I get.)
& have a great week.
PS: I do know there's a viewport compositor now, so you could have the Bloom effect interactively in the viewport. Ask somebody else, though—that feature doesn't work on my machine.
Weekly Picks
Random things people blended that caught my eye.
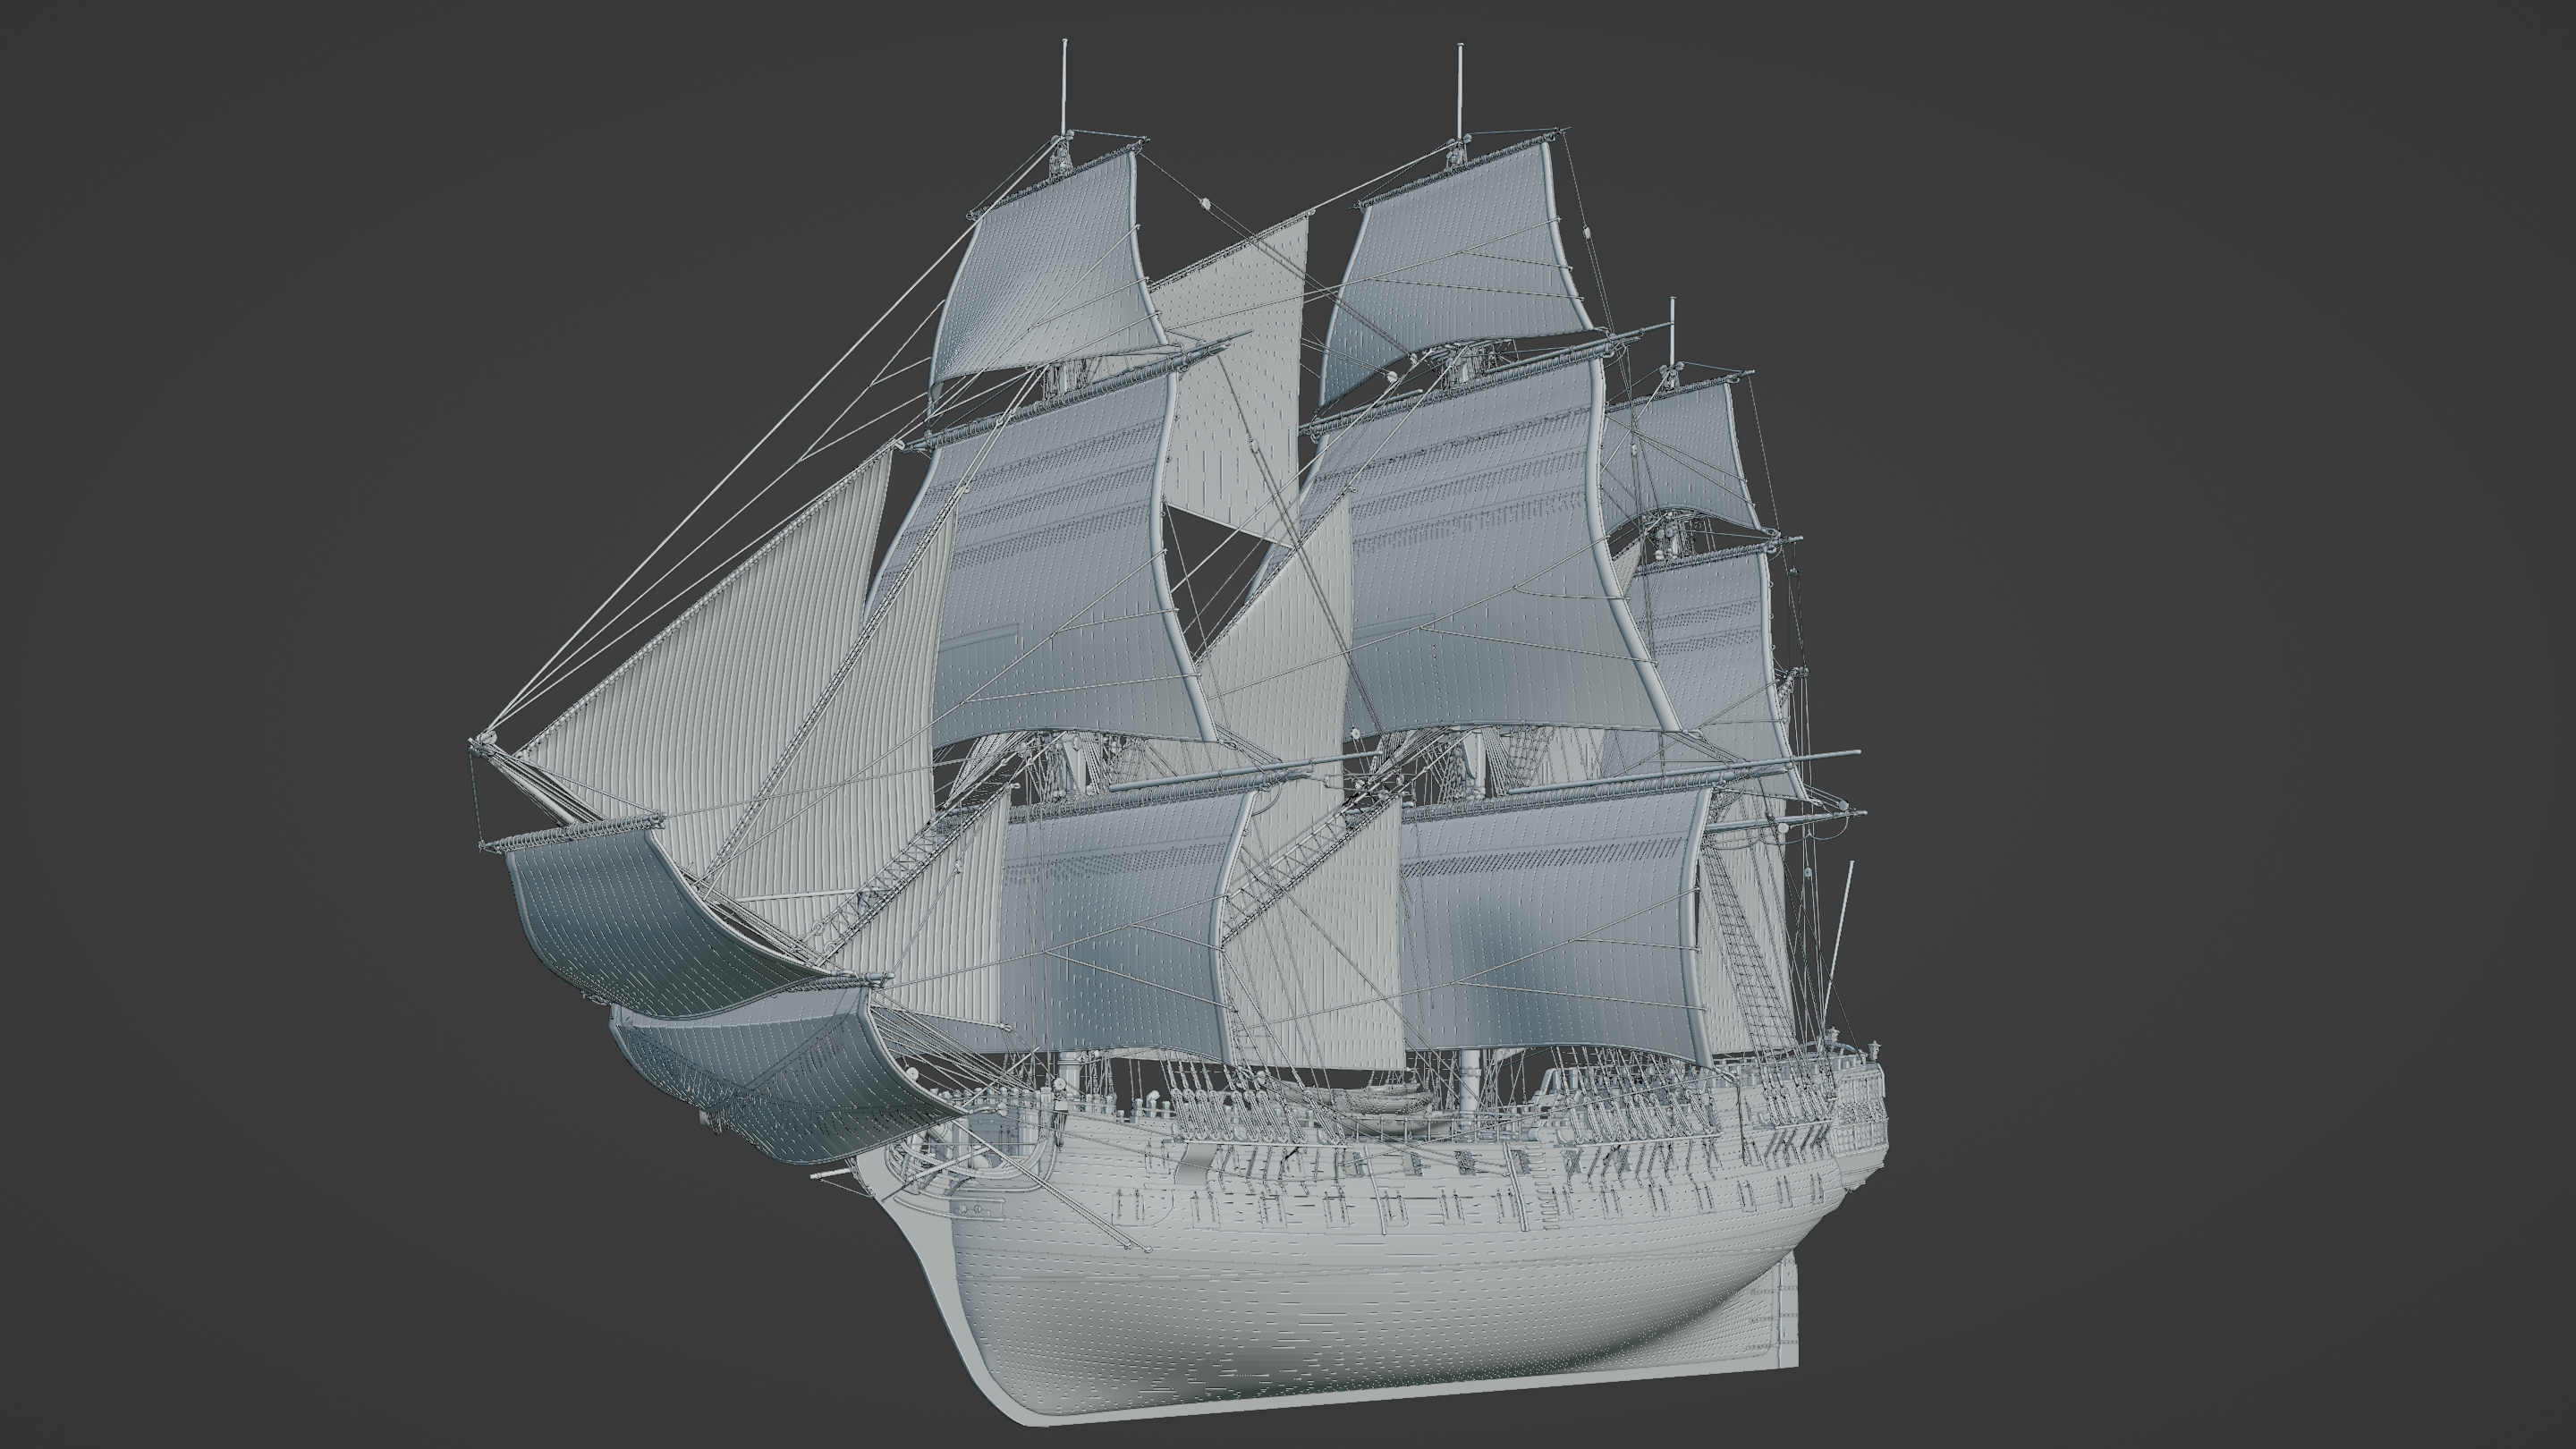
A detailed model of a fully-rigged ship-of-the-line by Kurtis, who's been working on it for years:
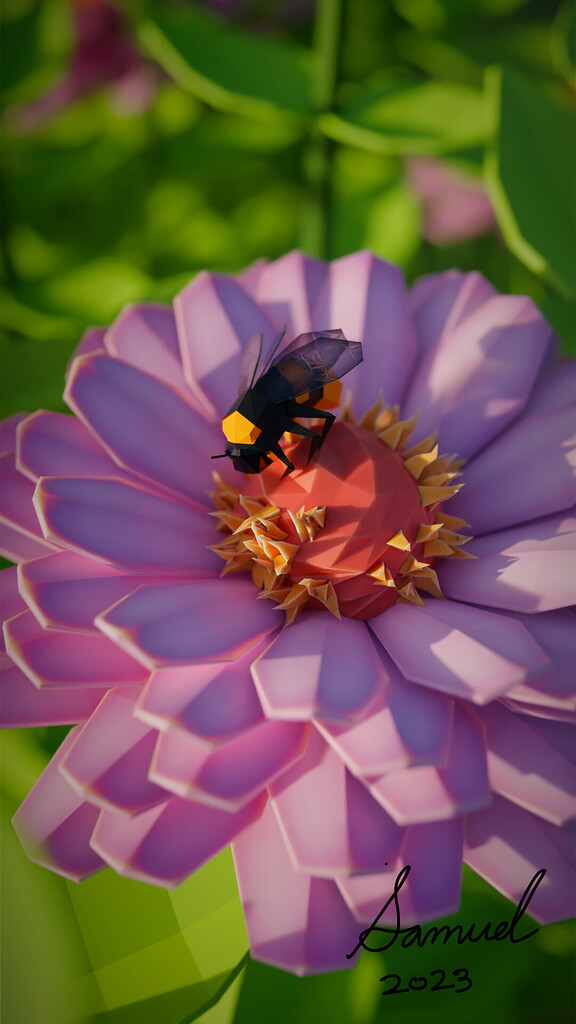
Low-poly nature render (by me.) My biggest animation project yet (and it's only 2 seconds long.)
Can't think what to blend?
Try something dark and twisted. Anything from barbed wire to a fortress.
P.S. I write fiction on the side, if you're curious:

Enjoy this newsletter? Please forward to a friend, it'll make my day :)
New to the newsletter? Join here (no pressure. But I really, really think you should click the button. Click the button. Click...the...button...) ↓
Reply